
When building web APIs, data efficiency is crucial. If your app retrieves more data than needed, it affects memory, speed, and even user experience. Lazy Loading is a smart strategy that allows you to defer the loading of related data until you actually need it.
In this article, we’ll walk through everything you need to know about Lazy Loading in ASP.NET Core Web API using Entity Framework Core with a full implementation example.
What is Lazy Loading?
Lazy Loading is a technique where related data is not loaded from the database until it is specifically requested. This helps in reducing the initial loading time and memory usage of an application.
In EF Core, Lazy Loading works by intercepting access to navigation properties and loading them only when they’re used.
Comparison Table
| Loading Type | Definition | When to Use |
|---|---|---|
| Eager Loading | Load related data immediately using.Include() | You know you’ll need related data |
| Lazy Loading | Load related data only when it’s accessed | You don’t always need related data |
| Explicit Loading | Manually load related data via code | You want full control |
Step 1. Create a New ASP.NET Core Web API Project.
Step 2. Install Required NuGet Packages.
Step 3. Define Your Models.
Models/Product.cs
Models/Category.cs
Step 4. Create DbContext and Enable Lazy Loading.
Data/AppDbContext.cs
Step 5. Register DbContext in Program.cs.
Add the connection string in appsettings.json.
Step 6. Create and Apply Migrations.
Step 7. Create DTOs to Avoid Infinite Loops.
DTOs/ProductDto.cs
Step 8. Create an API Controller.
Controllers/ProductsController.cs
Step 9. Seed Sample Data (Optional).
Add this to the Program.cs before app.Run().
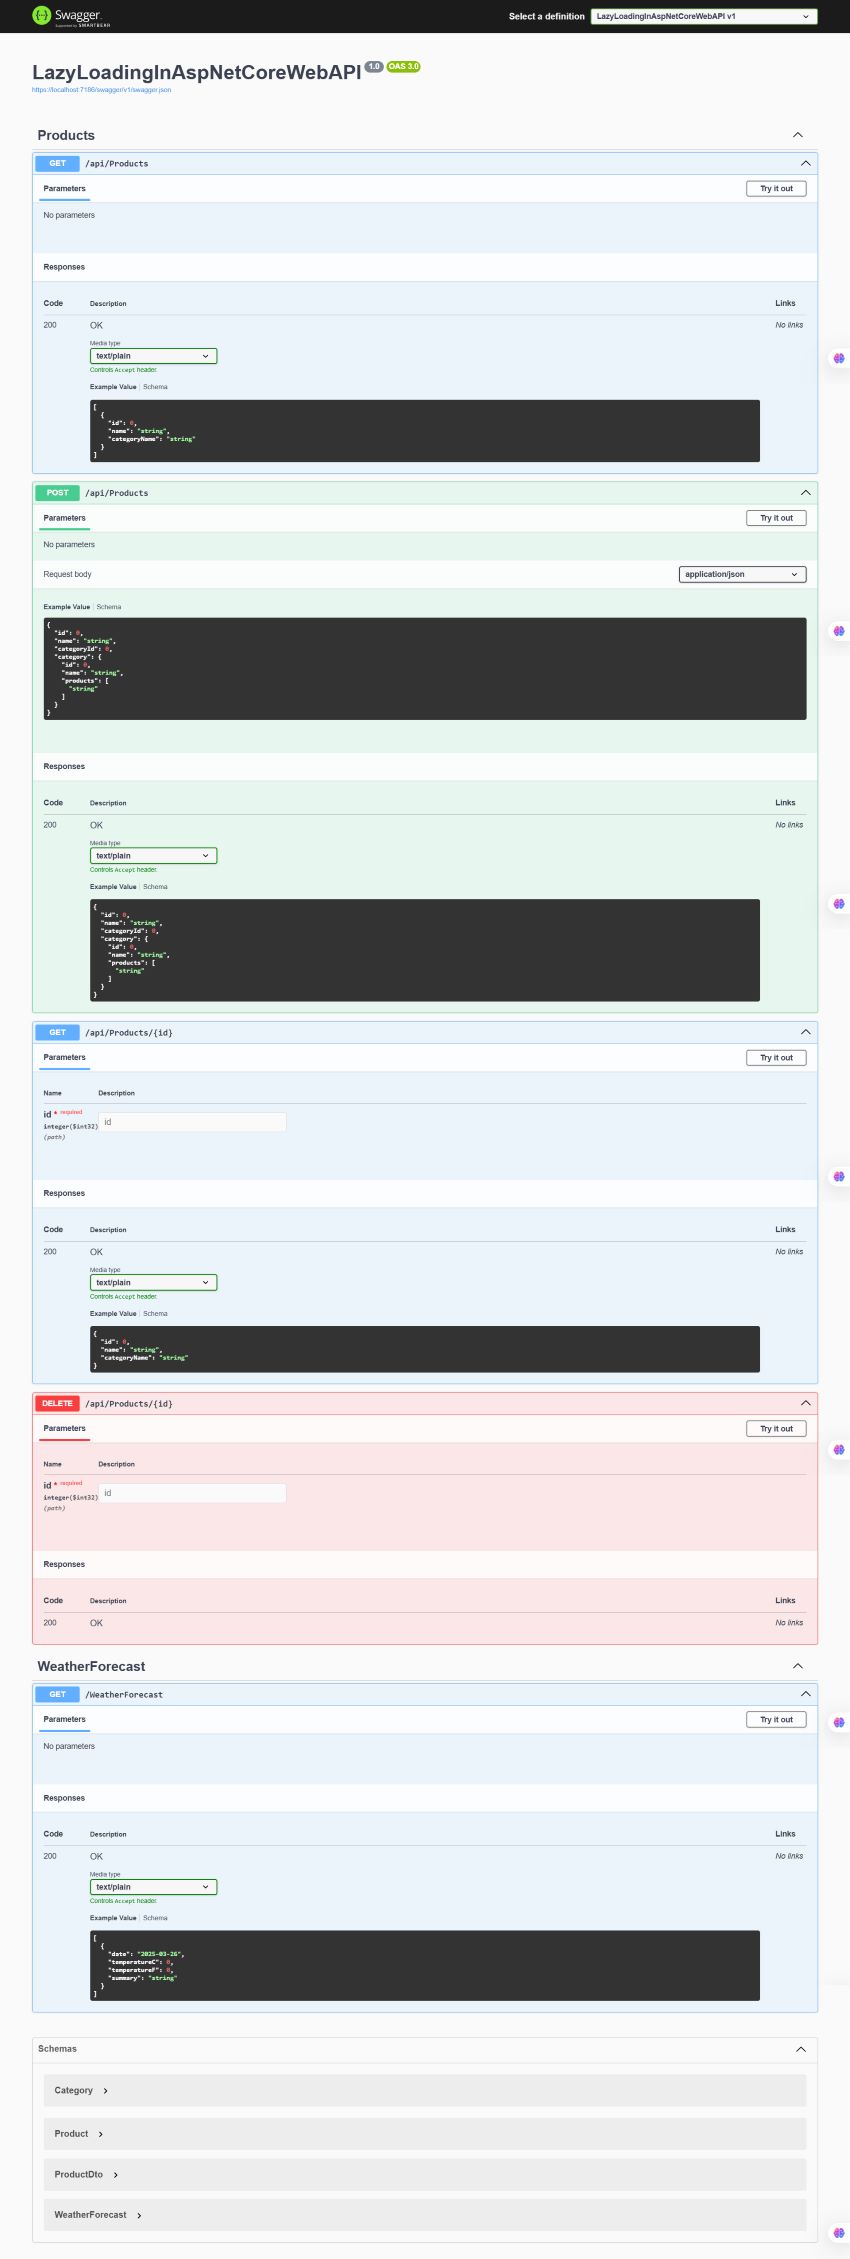
Test with Swagger or Postman
GET https://localhost:{port}/api/products/1Output
Best and Most Recommended ASP.NET Core 8.0.11 Hosting
Fortunately, there are a number of dependable and recommended web hosts available that can help you gain control of your website’s performance and improve your ASP.NET Core 8.0.11 web ranking. HostForLIFE.eu is highly recommended. In Europe, HostForLIFE.eu is the most popular option for first-time web hosts searching for an affordable plan.
Their standard price begins at only €3.49 per month. Customers are permitted to choose quarterly and annual plans based on their preferences. HostForLIFE.eu guarantees “No Hidden Fees” and an industry-leading ’30 Days Cash Back’ policy. Customers who terminate their service within the first thirty days are eligible for a full refund.
By providing reseller hosting accounts, HostForLIFE.eu also gives its consumers the chance to generate income. You can purchase their reseller hosting account, host an unlimited number of websites on it, and even sell some of your hosting space to others. This is one of the most effective methods for making money online. They will take care of all your customers’ hosting needs, so you do not need to fret about hosting-related matters.